Co-op identity migration
Palworld co-op to dedicated server migration without a blind identity swap.
Moving Palworld co-op to a dedicated server requires the world files and a deliberate player identity migration. The target server can load the map while assigning the host or a friend a new GUID, which produces a level 1 character even though the old player file still exists. The current release inventories filenames, sizes, hashes, outer signatures, and player-file candidates. It does not read GUIDs, guilds, bases, Pal ownership, or build a source-to-target identity map.
Open the source world for migration
A safe migration needs complete source and target worlds plus explicit player identity mapping.
Platform clues and missing-file diagnosis are available. GUID rewrites, host changes, and ownership migration are not.Quick answer
Palworld co-op to dedicated server: what to know first
- Back up the complete co-op world and the dedicated server target slot while both are stopped.
- Copy Level.sav, Players, metadata, and world options together; a world-only copy can strand character records.
- Map the co-op host separately from client players and keep unresolved GUIDs blocked.
- Have every important player log in and verify their assets before retiring either backup.
Why Palworld characters reset after a server transfer
The dedicated server identifies a login differently from the original co-op session. The map, bases, and guild can load correctly while the login selects a newly created Players file. The original progression may still be present under the source GUID, but continuing to play writes new state under the wrong identity.
Stop the server as soon as the reset appears. Preserve the target world with the new player record because that record reveals the identity the server expects. Keep the source world separately so the original character, ownership, and guild references remain available for mapping.
| Evidence | Source world | Target server |
|---|---|---|
| World files | Level.sav and metadata | Target WorldID folder |
| Player records | Original Players files | Newly created Players files |
| Identity | Source PlayerUID / GUID | Target account GUID |
| Cross-file links | Guild, base, Pal ownership | Expected target references |
Build the co-op to dedicated server identity map
List every source Players file, known display name, PlayerUID, GUID, guild membership, Pal ownership, and the account that should own it on the server. Display names help a human confirm the row, but they are not safe rewrite keys.
Mark the co-op host as a separate unresolved case until the target identity is explicit. The dry-run should report how many players map automatically, which records conflict, and which world-side references will change. Friends who are not present during the migration still need a preserved mapping row.
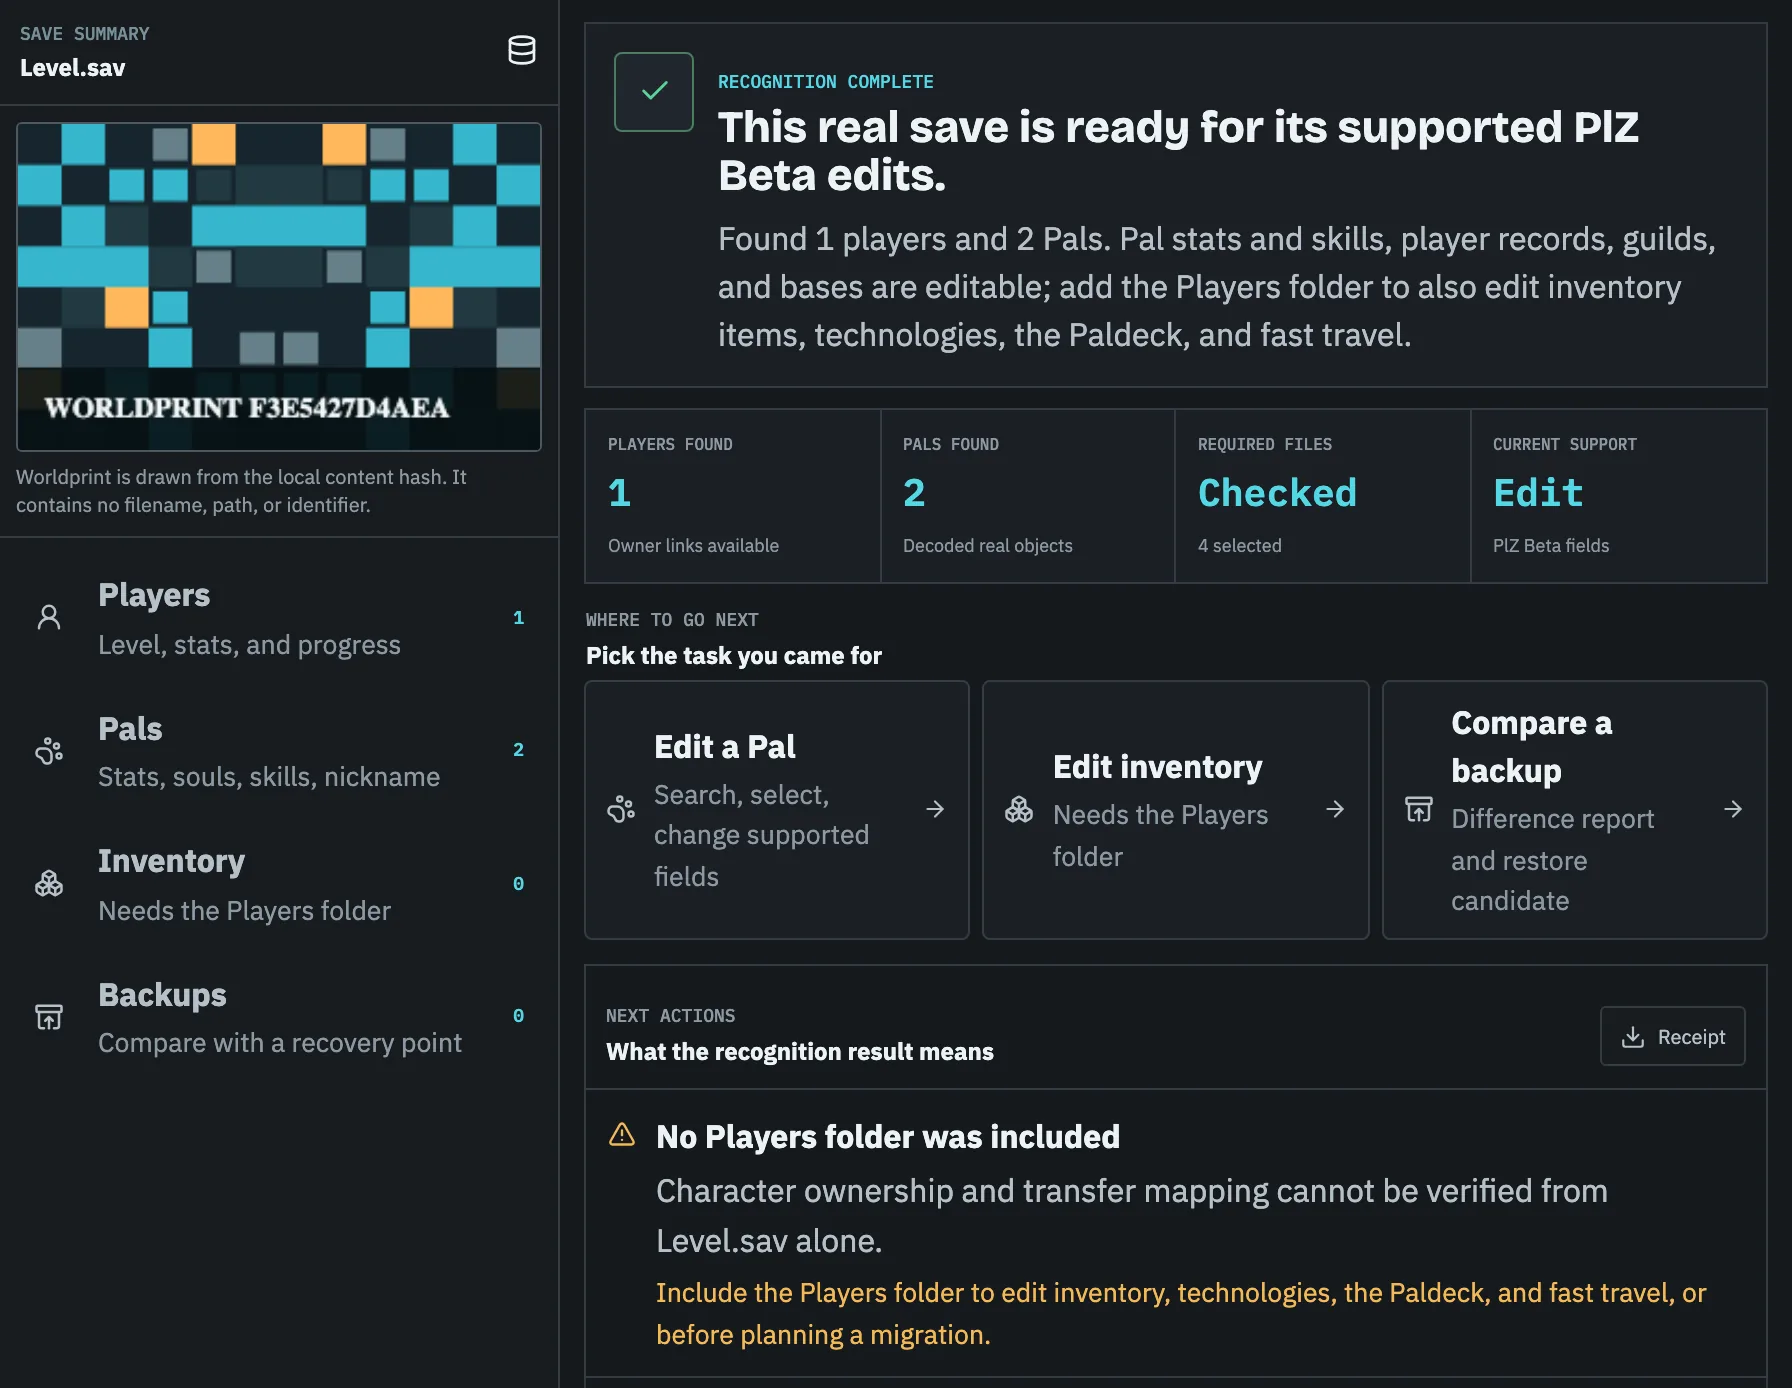
Move the full Palworld world, not a single save file
A standard source contains Level.sav, Players, LevelMeta.sav, WorldOption.sav, and sometimes other local records. Server versions and hosting layouts vary, but the safest migration unit is the complete matching WorldID folder. Copying only Level.sav can leave player files and cross-file references behind.
The target commonly uses `Pal/Saved/SaveGames/0/<WorldID>/`, though a Docker volume or managed host can mount that path elsewhere. Record the actual target volume and preserve its existing contents before uploading the migrated set.
Run the Palworld co-op to dedicated server migration dry-run
The dry-run should name every source and target file, summarize the identity replacements, count affected players, and list unchanged players, bases, guilds, and Pals. It should block on duplicate identities, missing player files, unsupported container formats, or an unresolved host.
Pal Save Editor currently provides file-set recognition and this migration checklist. It does not read or rewrite the identities shown in the recommended dry-run. Binary host conversion remains locked until current-version round trips are proven.
- 01
Stop source and target
Prevent either world from creating new state while the migration evidence is collected.
- 02
Back up both complete worlds
Keep source and target WorldID folders in separate dated locations.
- 03
Create target identities
Join once only when a tool requires a target Players record, then stop the server immediately.
- 04
Review every mapping
Confirm host, clients, guild, Pal ownership, and storage-related references before export.
- 05
Validate the migrated copy
Reparse the package, start the test server, and have each player confirm their character and assets.
Verify the dedicated server after migration
Each player should verify level, inventory, technology, Pals, guild membership, bases, map progress, and fast-travel state. Ask the co-op host and at least one former client to test because their identity paths can differ.
Keep the source and target backups until every important account has logged in successfully. If one character resets, stop the server again; do not continue playing and do not delete either the old or newly created Players file.
Task checklist
- 01Stop both the co-op game and dedicated server.
- 02Back up the complete source world and target slot.
- 03Keep newly created target player files as identity evidence.
- 04Map every player, with the co-op host handled separately.
- 05Verify each migrated account in game before retiring backups.
Questions people ask before touching the save
Why does the world load but my character starts at level 1?
The server loaded the world but selected a new player identity. Restore the backup and fix the identity mapping before continuing.
Can I migrate only Level.sav?
No. The Players folder and metadata must travel with the matching world state.